Wondering how to install Proxmox without burning a weekend on it? Here is the whole job — download the Proxmox VE 9.2 ISO, write it to a USB stick, boot the machine, answer five questions, and reboot. That’s it. Ten minutes, maybe fifteen. From then on, you run everything from a web browser. So why do botched first installs happen at all? Because two of those five answers are nearly permanent — the filesystem and the server’s IP address — and the wizard doesn’t warn you. This guide walks the current release, PVE 9.2, gets those two answers right, and covers the four post-install steps that keep the box updating safely for years.
- The current installer is Proxmox VE 9.2 (ISO 9.2-1). Version 8 stops getting security fixes on August 31, 2026, so check that your download says 9.2.
- The install itself is a ten-minute wizard: write the ISO to USB, boot, answer five prompts, reboot.
- Two answers are hard to undo. Pick ext4 for one disk or a ZFS mirror for two, and give the server a static IP before you boot.
- A fresh install can’t update until you switch from the paid enterprise repo to the free no-subscription one. It’s two clicks in the web UI.
- After the reboot, everything happens in a browser at https://your-server-ip:8006. The box never needs a monitor again.
Note: this post contains an affiliate link; if you buy through it, TechDaily earns a small commission at no extra cost to you.
Check These Three Things Before You Download Anything
Proxmox VE is a hypervisor — an operating system whose only job is to run virtual machines and containers. It doesn’t install on your current system. It replaces it.
- A 64-bit CPU with virtualization switched on. Almost any Intel or AMD chip from the past decade qualifies. The feature is called VT-x on Intel and AMD-V (sometimes “SVM”) on AMD, and plenty of motherboards ship with it turned off. Reboot into the BIOS, look under CPU or Advanced settings, and flip it on now. The official requirements page has the full list.
- Enough RAM. Proxmox lists 1 GB as the bare minimum, and that’s for testing only. For real use, treat 16 GB as a comfortable start. The system takes a slice, and every VM you create needs its own.
- A USB stick you can erase. The installer comes as an ISO — the whole installer packed into one file — and the 9.2 ISO weighs 1.71 GB. Any 4 GB stick works, like a basic SanDisk Ultra USB 3.0. The stick gets wiped too.
Most first installs are one machine with one disk, and that’s the reader this guide is built for. If you’re still deciding whether Proxmox is the right base at all, settle that first with our Proxmox vs Unraid breakdown — it comes down to your drives.
The Ten-Minute Install, From ISO to Login Screen
Step 1. Download the Proxmox VE 9.2 ISO
Grab the installer from the official downloads page. It’s free — no account, no license key, no trial timer. Check the version before you click: you want 9.2 (the current ISO is 9.2-1). PVE 8 reaches end of support on August 31, 2026, which means no more security fixes, so there’s no reason to start a new server on it.
Step 2. Write the ISO to a USB Stick
On Windows, use Rufus or balenaEtcher to write the ISO to the stick. On Linux or macOS, dd does the same job — just point it at the stick’s device name, not a partition, and triple-check that name first.
Tip: Rufus will ask how to write the image. Pick “DD mode.” The default ISO mode rebuilds the stick in a way the Proxmox installer often can’t boot from, and the resulting error looks like a bad download instead of a bad write.
Step 3. Boot From the Stick and Start the Wizard
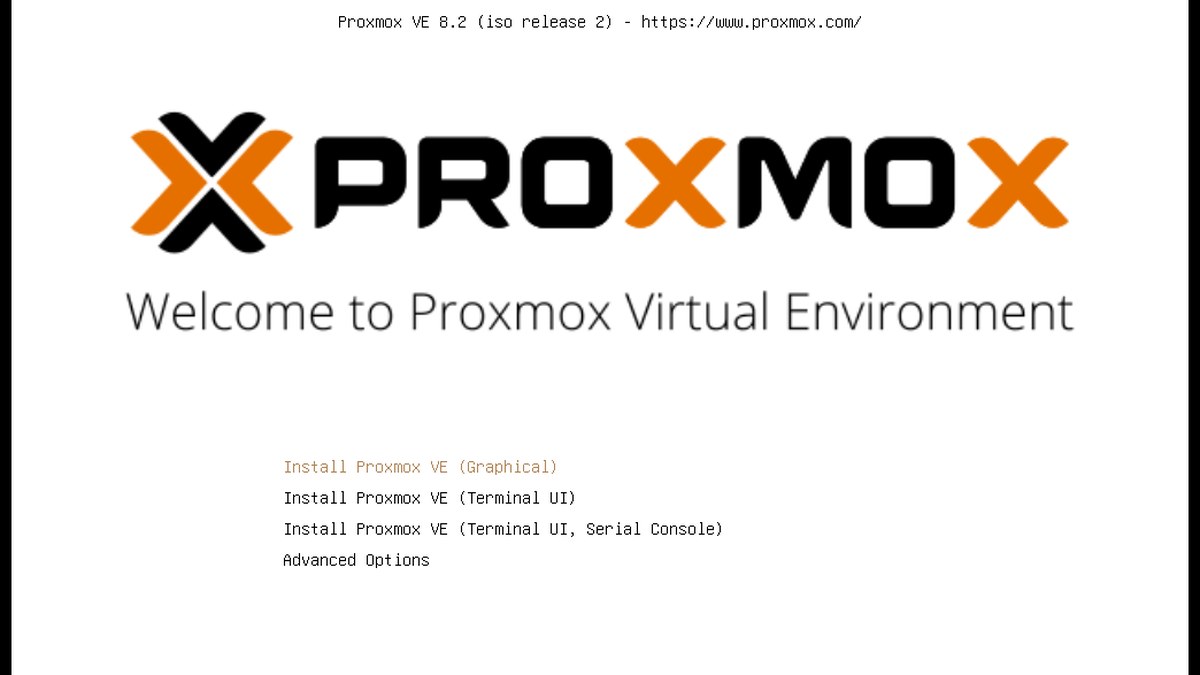
Plug the stick into the server, power it on, and tap the boot-menu key — usually F11, F12, or Esc. Pick the USB stick, then choose “Install Proxmox VE (Graphical)” from the menu. Agree to the license and you’re in the wizard.
Step 4. Answer the Wizard’s Five Questions
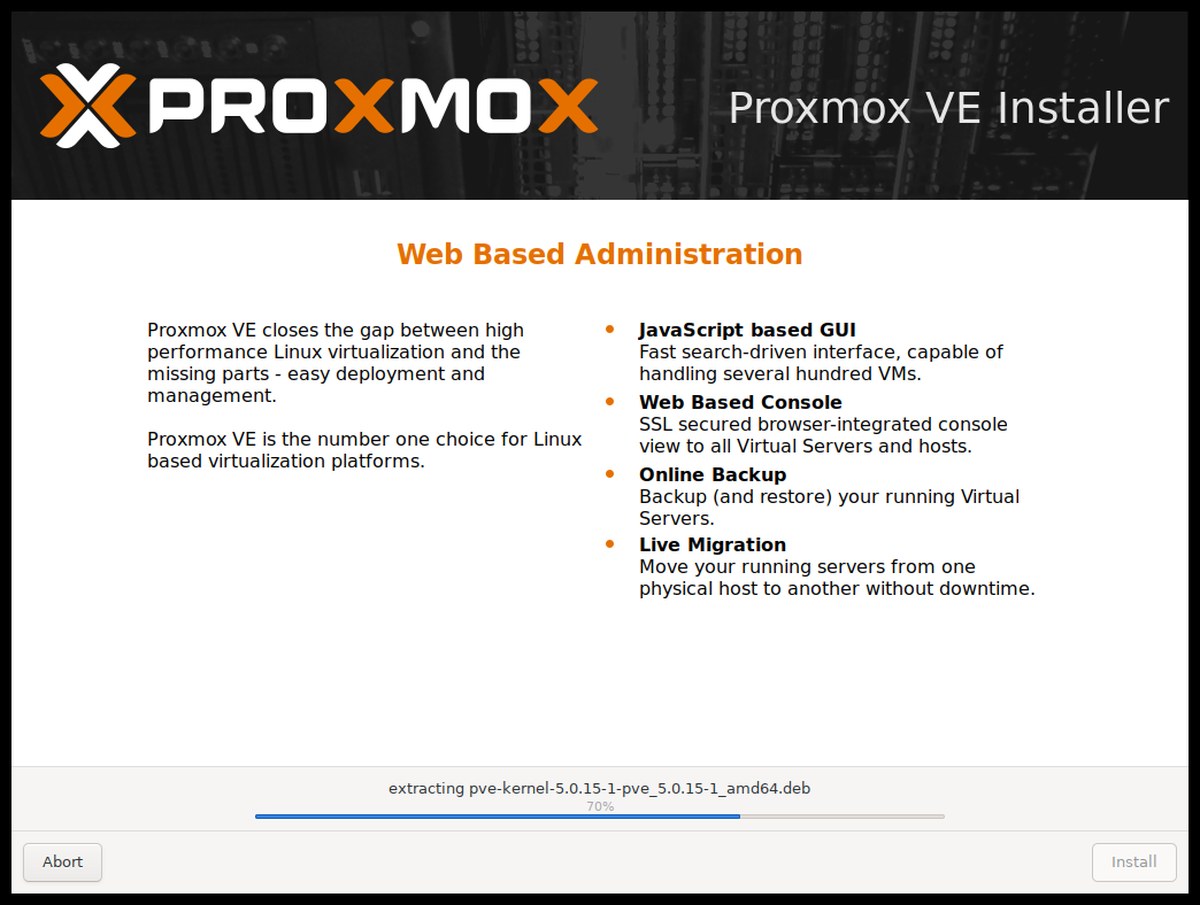
The wizard asks for five things: the target disk (and its filesystem — next section), your country and timezone, a root password plus an email address, the network card to manage the server through, and a hostname with an IP address. Use a real email. That’s where the server sends you warnings about failing disks and failed backups.
Warning: the installer erases the entire target disk — every partition on it, including any Windows install sharing that drive. Check the disk model and size shown on screen before you click next. There is no undo past this point.
Step 5. Reboot and Log In From Your Browser
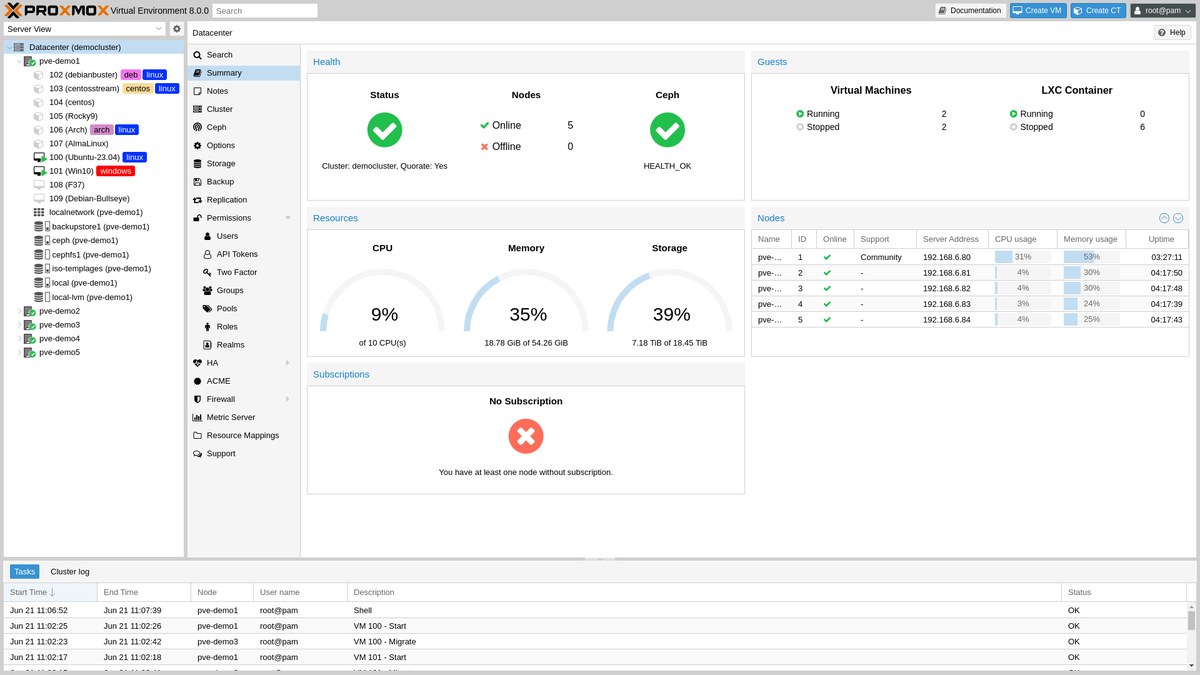
Pull the USB stick and let the server reboot. The screen ends at a plain text console showing a URL — that’s normal, and it’s the last time you need a monitor on this machine. From any other computer, open https://your-server-ip:8006. The browser’s privacy warning is expected — the server signed its own certificate — so click through, log in as root, and leave the realm on “Linux PAM.”
The Two Choices You Cannot Easily Undo
The wizard makes both of these look like small dropdown details. They aren’t. Both are baked in at install time, and both are why this ten-minute job deserves twelve minutes of thought.
Pick Ext4 for One Disk and a ZFS Mirror for Two
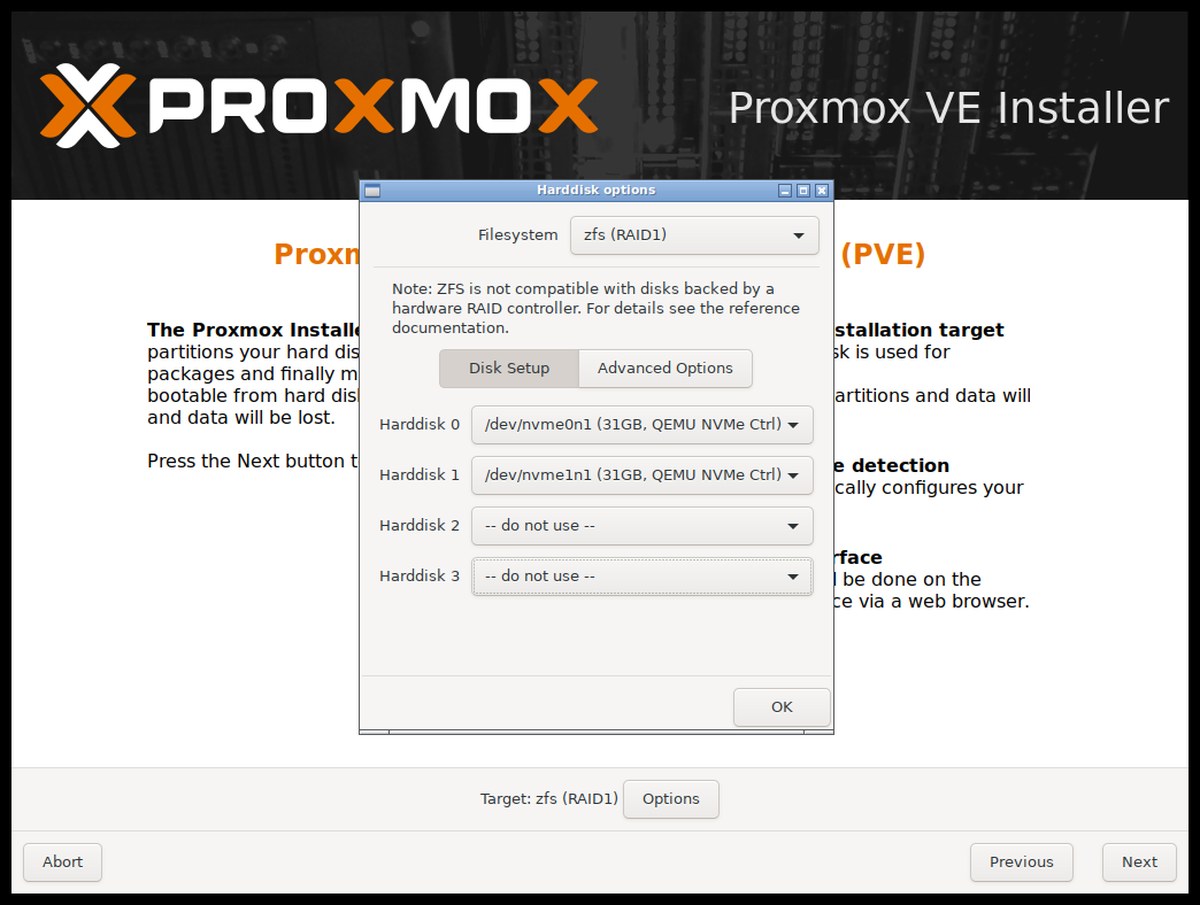
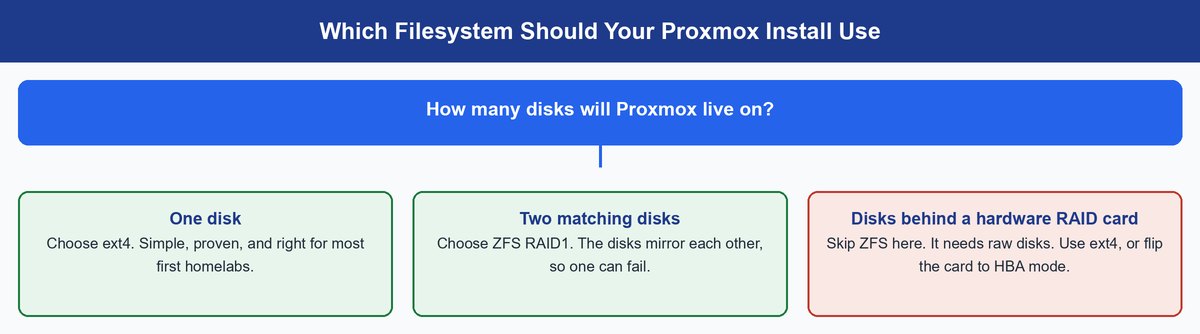
On the target-disk screen, a small Options button hides the filesystem choice. The plain-language rule: one disk means ext4, the default. It’s simple, proven, and right for most first builds. Two matching disks mean ZFS RAID1 — a mirror. ZFS is a filesystem that checksums your data, so it catches silent corruption, and it can mirror disks in software, so one can die without taking your VMs with it. The reason this gets its own section instead of a footnote: switching filesystems later means reinstalling the whole server. One exception is firm — never put ZFS on top of a hardware RAID card. ZFS needs raw disks, and Proxmox’s own requirements say the two don’t mix. Use ext4 there, or switch the card to HBA mode.
Keep in mind: ZFS is hungry for RAM. Budget roughly 1 GB of RAM per 1 TB of ZFS storage, on top of what your VMs need, or performance sags.
Give the Server a Static IP Before You Boot the Installer
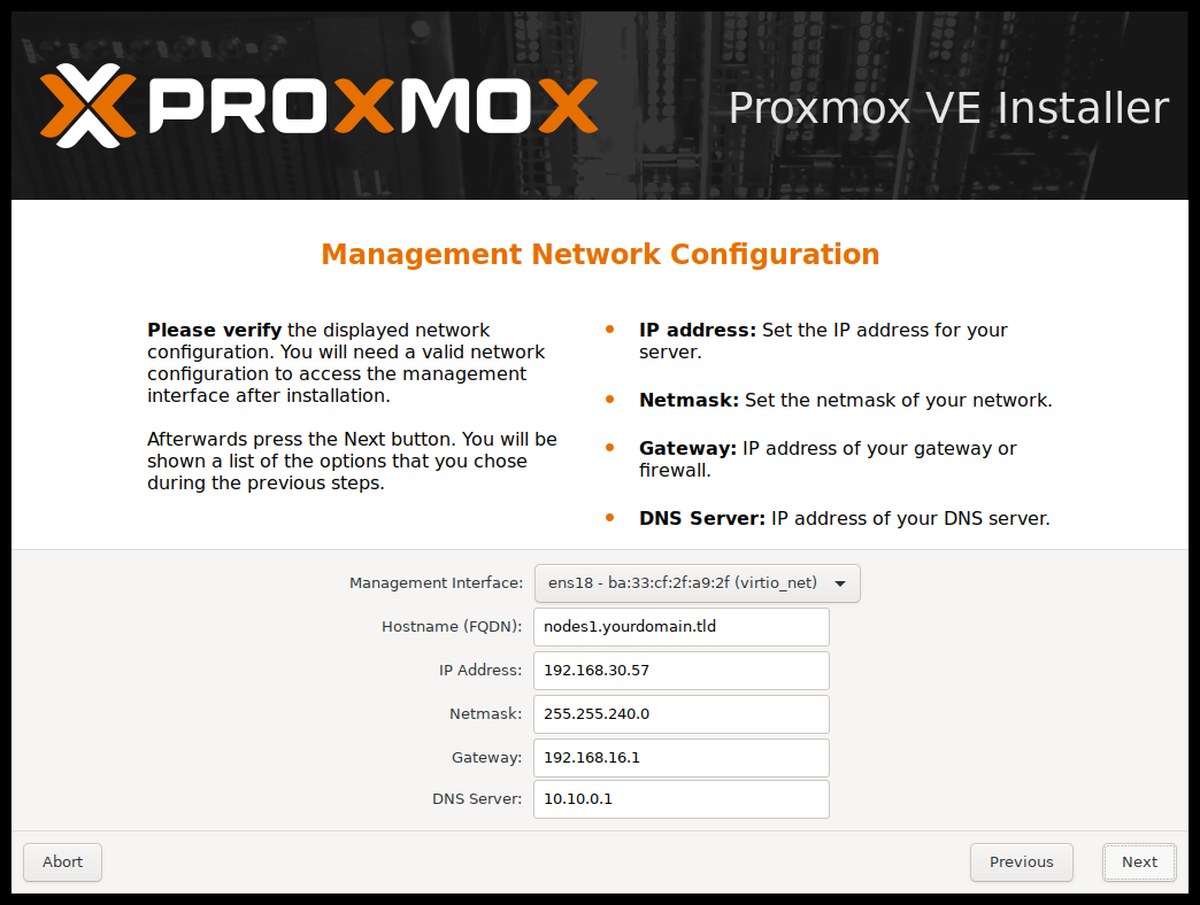
The IP you type into the wizard becomes the server’s identity. Your bookmark, your backups, and every service on the box will point at it. If your router’s DHCP later hands that address to something else, the web UI simply vanishes — the most common way beginners “lose” a working server. The fix costs one minute: pick an address outside the router’s DHCP pool, or reserve one there for the server, and type that into the wizard.
Four Post-Install Jobs That Keep Updates Working
Your first login greets you with a “No valid subscription” notice. Nothing is broken — dismiss it. But it points at the one thing you genuinely must fix. A fresh install points its updates at Proxmox’s enterprise repository, which is the paid, extra-tested update channel the company sells to businesses. Without a subscription key, update checks fail with an access error.
The catch: until you switch repositories, apt update returns a 401 error and the box quietly stops receiving updates. This is the single most skipped step in first installs — do it before anything else.
The fix, plus the three jobs after it: select your node, open Updates, then Repositories. Disable the enterprise entry and add the No-Subscription repository — the official repositories page documents it as the recommended free channel. Then install every pending update with Refresh followed by Upgrade. Then upload your first installer ISO under storage “local” → ISO Images. Then hit Create VM, top right — or reach for a container instead, which is lighter for Linux-only services. If VMs versus containers is new territory, our Proxmox VE explainer maps how the pieces fit.
Fixing the Three Most Common Install Failures
The Installer Boots to a Blank or Frozen Screen
This is almost always the graphics card fighting the installer. Reboot and pick “Install Proxmox VE (Terminal UI)” from the boot menu instead — the same wizard and the same five questions, drawn in text. Since the server will live headless anyway, you lose nothing.
The Web Interface at Port 8006 Never Loads
Three usual suspects, in order. You typed http instead of https, or left the port number 8006 off the end of the address. Your machine has more than one network port and the wizard bound the UI to the one without a cable. Or the IP on the server’s console isn’t the one you’re browsing to. The console screen always shows the true address — trust it over your memory.
The Installer Says Virtualization Is Not Enabled
The install may finish, but every VM will crawl or refuse to start. Reboot into the BIOS and enable VT-x, AMD-V, or SVM — the same pre-flight toggle from the top of this guide. Fix it before building anything.
Frequently Asked Questions
Can you install Proxmox on Windows 11?
Not on top of it — Proxmox replaces Windows on that machine. To practice first, run Proxmox inside VirtualBox or VMware Workstation as a VM: fine for learning the interface, too slow for real workloads.
Can you install Proxmox on Ubuntu?
No. Proxmox VE is built on Debian, not Ubuntu. There is an official manual route that installs Proxmox on top of an existing Debian system, but the official install docs recommend the ISO for good reason — it handles partitioning and networking for you.
What size USB drive do you need to install Proxmox?
The 9.2 ISO is 1.71 GB, so any stick of 4 GB or more has room to spare. Speed barely matters here; the stick is only used once per install.
Is Proxmox Backup Server the same as Proxmox VE?
No — they’re separate products. Proxmox VE is the hypervisor you’re installing here. Proxmox Backup Server (PBS) is a dedicated backup target that PVE sends copies to, ideally on a second machine. Build your PVE box first; add PBS when you have VMs worth protecting.
What is Proxmox Datacenter Manager?
A separate tool for viewing and managing several Proxmox setups from one dashboard. With a single server, you don’t need it — the built-in web UI at port 8006 is the whole cockpit.
Does Proxmox run on ARM or a Raspberry Pi?
There is now an official arm64 ISO (9.2-1, added August 2026), but it targets server-grade ARM chips like NVIDIA’s Grace — not a Raspberry Pi. For a homelab, a used x86 mini-PC is still the practical path.
Install It Once and It Runs for Years
The wizard was never the hard part. The craft in a Proxmox install is the two answers you can’t take back — ext4 or ZFS, and a static IP — plus the repo switch that keeps updates flowing. Get those four things right and this is genuinely a ten-minute job with a years-long payoff. And if this server is replacing a VMware box rather than starting fresh, our VMware to Proxmox migration guide picks up exactly where this one ends.