- Shift-Command-3 grabs the whole screen, Shift-Command-4 grabs a part and Shift-Command-5 opens the toolbar.
- Change Save to in the toolbar’s Options menu, and the shortcuts save there too.
- Hold Control with any shortcut to copy the image instead of saving a file.
- Turn on Desktop Stacks, and new desktop files, screenshots included, sort into stacks on their own.
- If a shortcut fails, check System Settings > Keyboard > Keyboard Shortcuts > Screenshots.
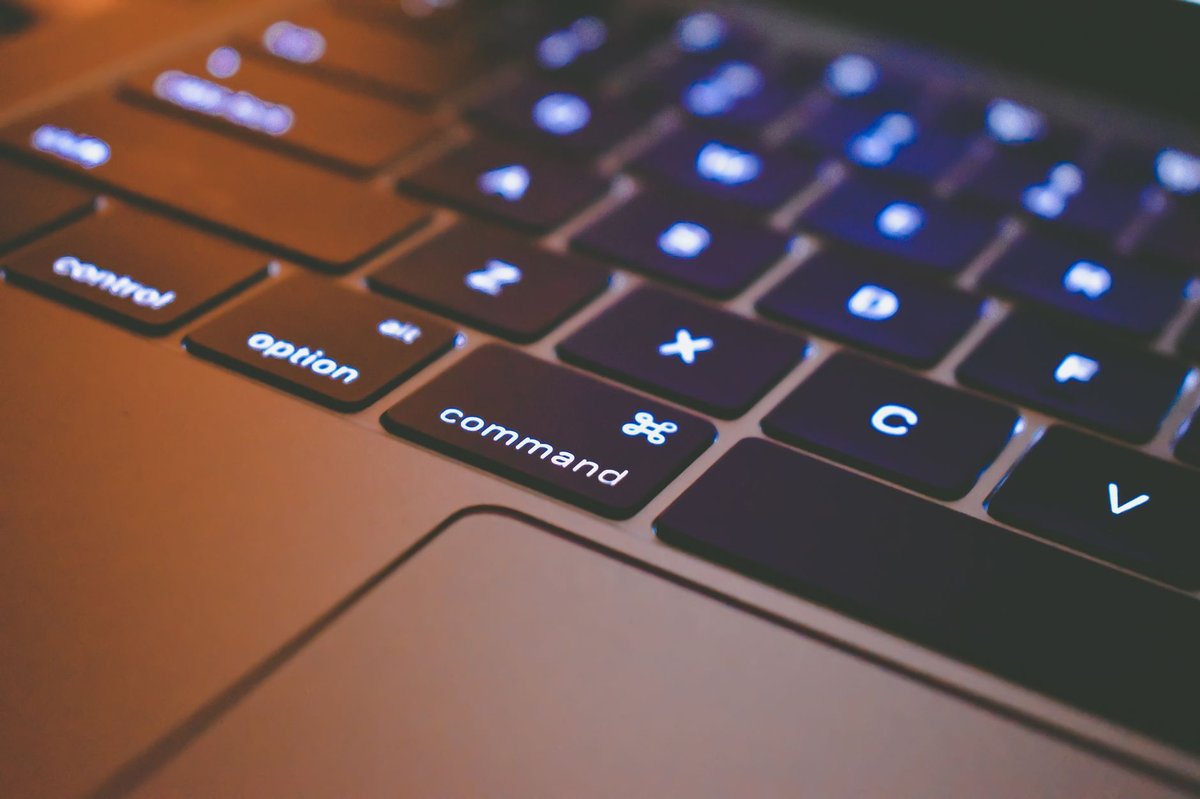
How to take a screenshot on Mac comes down to three key combos. Shift-Command-3 captures the whole screen. For just part of it, press Shift-Command-4 and drag. Shift-Command-5 opens the Screenshot toolbar, which also records video.
Each one saves a file straight to your desktop unless you change it. One setting in the toolbar’s Options menu sends them somewhere else, and your keyboard shortcuts follow it too. We went through Apple’s steps for keeping the desktop clear and tracking down lost screenshots, plus the fixes for a shortcut that stops working.
How to Take a Screenshot on Mac With Three Shortcuts
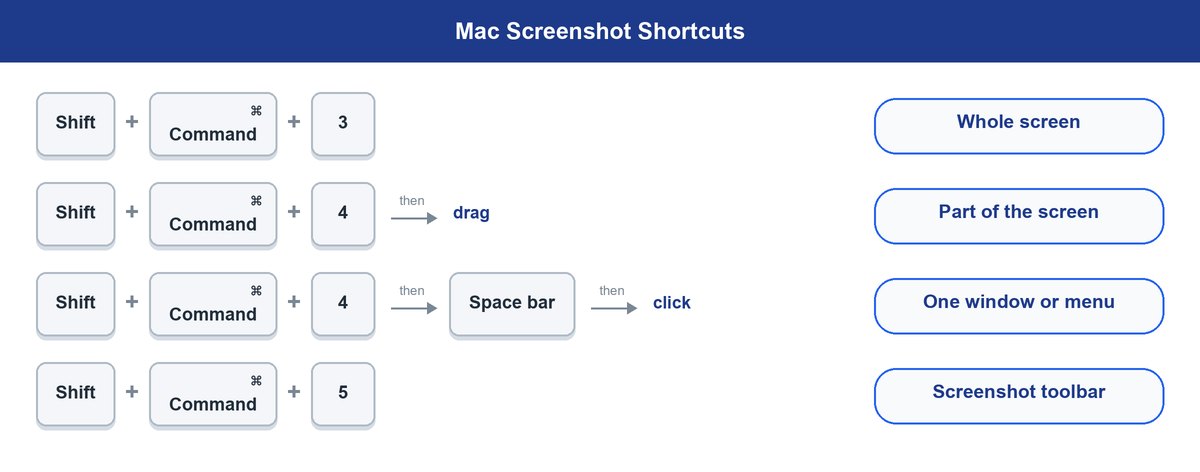
Here are Apple’s shortcuts, where Command is the ⌘ key:
| What you want | Press |
|---|---|
| The whole screen | Shift-Command-3 |
| Part of the screen | Shift-Command-4, then drag |
| One window or menu | Shift-Command-4, then Space bar, then click |
| The Screenshot toolbar | Shift-Command-5 |
| The Touch Bar (Touch Bar Macs only) | Shift-Command-6 |
With Shift-Command-4, the pointer turns into a crosshair, a small plus-shaped target. Drag it over the area you want, then let go. Press Esc before you let go to cancel.
Tip: hold the Space bar while you drag to move the selection without changing its size.
The toolbar needs macOS Mojave 10.14 or later. You can also open it from Spotlight, the Mac’s built-in search. For repeat shots of the same area, turn on Remember Last Selection in the toolbar’s Options.
Where Your Screenshots Go and How to Change It

Out of the box, screenshots land on your desktop as .png files.
Send Screenshots to a Folder of Your Own
In Finder, press Shift-Command-N to create a new folder, and name it something like Screenshots. Then follow Apple’s steps:
- Press Shift-Command-5 to open the Screenshot toolbar.
- Click Options.
- Under Save to, choose Other Location and pick your new folder.
Apple says this changes the default save location, so your keyboard shortcuts save to that folder too. The Save to list also has presets such as Desktop, Documents and Clipboard.
Keep Them on the Desktop but Tidied Into Stacks
Stacks gather desktop files into neat piles, and new files you save there join the right stack on their own.
To turn them on, click the desktop, then choose View > Use Stacks, or press Control-Command-0. Choose View > Group Stacks By to sort the piles by kind, date or tags. Stacks suit you if you like to drag screenshots straight off the desktop.
Find a Screenshot You Already Lost
Press Command-Space bar to open Spotlight, then type “Screenshot”.
Worth knowing: on macOS Ventura and later, screenshots are named “Screenshot” followed by the date and time. Macs on Monterey or earlier use “Screen Shot”, so if a search for one finds nothing, try the other.
Copy a Screenshot to the Clipboard Instead of Saving a File
The clipboard is your Mac’s copy-and-paste memory, handy for an image you only want to paste into a chat. Add the Control key to any screenshot shortcut, such as Control-Shift-Command-4. The image goes to the clipboard and no file is saved. Click where you want it and press Command-V to paste.
Already took a regular screenshot? Control-click the floating thumbnail, the small preview that pops up in the corner, and choose Save to Clipboard.
Capture One Window Without the Shadow
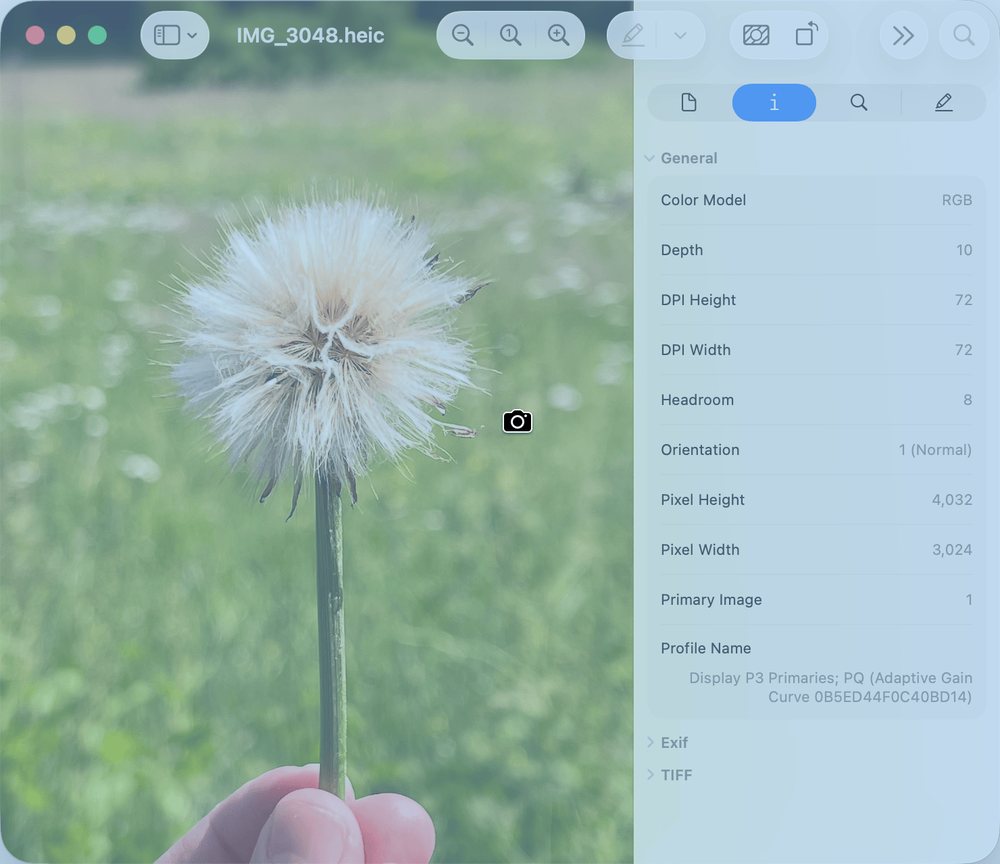
Press Shift-Command-4, then the Space bar. The pointer turns into a small camera. Click a window or an open menu to capture just that piece.
Window shots include the window’s shadow, which can look odd in a document. To leave it out, press and hold the Option key while you click.
How to Take a Screenshot on Mac With a Timer or Record Your Screen
A timer helps when you need to open a menu before the shot. Press Shift-Command-5, click Options and pick a delay under Timer. You can wait 5 or 10 seconds before the capture, according to tech guides from CNET and Setapp.
The same toolbar records video, either the entire screen or a selected portion. Macs on macOS Tahoe 26 or later can also record a selected window. Under Options, choose a microphone for your voice, or None to keep it off.
Apple says macOS 27 Golden Gate or later adds Include System Audio, which records the Mac’s own sound. To stop, click the Stop button in the menu bar or press Command-Control-Esc.
What to Do When a Mac Screenshot Shortcut Is Not Working
We checked Apple’s support pages for the usual reasons a shortcut seems dead.
Check the Shortcut Settings First
Open the Apple menu, then go to System Settings > Keyboard > Keyboard Shortcuts > Screenshots. Each shortcut has a checkbox, and an unchecked one won’t work.
Want the original keys back? Click Restore Defaults in the bottom-left corner. That button resets all your keyboard shortcuts, not only the screenshot ones, so write down any custom shortcuts you rely on before you click it.
If the same keys already belong to another command or app, your shortcut won’t work. Change one of the two, or turn off the macOS shortcut that conflicts.
Some Apps Block Screen Capture
Apple names the Apple TV app as one that blocks captures of its windows, for both screenshots and recordings. Its Mac guide also names DVD Player. If the shortcut works everywhere except one app, that app is the likely cause.
Look for a Screenshot That Went Somewhere Else
Check Save to in Options first, in case it points to an old folder. If you held Control by accident, the image went to the clipboard instead. The floating thumbnail also waits in the bottom-right corner for a few seconds before the file saves, and a swipe to the right saves it at once.
Watch out: with Dropbox’s “Save screenshots to your Dropbox” setting on, screenshots save to a Dropbox folder called Screenshots. Find the switch under the Dropbox menu bar icon > your avatar > Preferences > Screenshots.
Real talk: on supported Macs with macOS Tahoe 26 or later, check Capture Format in Options. HDR (high dynamic range, a brighter color mode) saves a HEIF (High Efficiency Image File Format) file, while SDR (Most Compatible) saves a PNG. If an upload form rejects your screenshot, switch to SDR.
Frequently Asked Questions
How do I take a screenshot on a Mac without a Command key?
On a Windows keyboard, Apple says to use the Windows logo key or Ctrl in place of Command, and Alt in place of Option. You can also open the Screenshot app from Applications > Utilities and click the capture you want.
Where do screen recordings go on a Mac?
They save to the desktop by default, unless you changed Save to. Look for a .mov file named “Screen Recording” with the date and time.
How do I mark up a screenshot on a Mac?
Click the floating thumbnail right after the shot to mark up, trim or share the image. Hold the pointer over the thumbnail to keep it on screen longer.
Do these shortcuts work on a MacBook Neo or MacBook Air?
Yes. Apple’s Mac guide covers the MacBook Neo, MacBook Air, MacBook Pro, iMac, Mac mini and Mac Studio. The steps for how to take a screenshot on Mac stay the same on all of them, and only the Touch Bar shortcut needs a specific model. If you’re still deciding, our look at whether a Mac is worth it runs the five-year numbers. Weighing a desktop? Our take on the Mac mini M6 covers whether to buy it or keep your M4.
Can a Mac take a full-page or scrolling screenshot?
Not with Apple’s built-in tool. It captures what’s on screen: the whole screen, a window or a selected part. TechSmith and Parallels say the same.