Published July 8, 2026 · Last updated August 27, 2026 · Checked against Apple’s current Move to iOS flow.
- Apple’s free Move to iOS app is the official tool. Over Wi-Fi or a USB-C cable, it moves contacts, message history, camera photos and videos, mail accounts, calendars, WhatsApp chats, and some free apps in roughly 30 minutes to 2 hours.
- Move to iOS only runs during the iPhone’s initial setup. If you already finished setup, you must either erase the iPhone and start over, or fall back to manual methods like Google account sync.
- Several things never come across automatically: paid apps, your music library, most app passwords, WhatsApp call history, and WhatsApp Business chats. Plan to re-download or re-enter them.
- You do not need Wi-Fi if you connect the two phones with a USB-C cable. The wire is often faster and more reliable than a wireless transfer for large photo libraries.
- The most reliable safety net is Google’s own ecosystem. Contacts, calendars, email, and photos sync to any iPhone as soon as you add your Google account in Settings.
Switching sides in 2026 is the easiest it has ever been. The fear has not changed, though: losing your digital life in the jump. So here is how to transfer data from Android to iPhone the way it works right now. Every path Apple offers this year. How long the move really takes. When you need Wi-Fi, and when you don’t. And exactly what gets left behind.
How to Transfer Data From Android to iPhone Your Main Options
Before touching either phone, it helps to understand that Apple gives you one purpose-built tool and several manual backups. The purpose-built tool is the Move to iOS app, which Apple publishes for free on the Google Play Store. It does the heaviest lifting, but it has one strict rule that trips up most people: it only runs while your iPhone is brand new or freshly reset, during the on-screen setup flow.
Everything else, contacts pulled from a Google account, photos synced through Google Photos, music dragged over with a computer, is a manual fallback you can use any time, including months after your iPhone is already in your pocket. Decide which camp you are in before you begin, because it changes your whole plan. If your iPhone is still in the box, use Move to iOS. If it is already set up and full of your stuff, skip to the after-setup section below.
A quick note on a common point of confusion: Quick Start, the famous tap-your-phones-together feature, is iPhone-to-iPhone only. It does not work with Android at all, so ignore any advice telling you to use it for this switch.
Method 1 — The Move to iOS App (The Official Way)
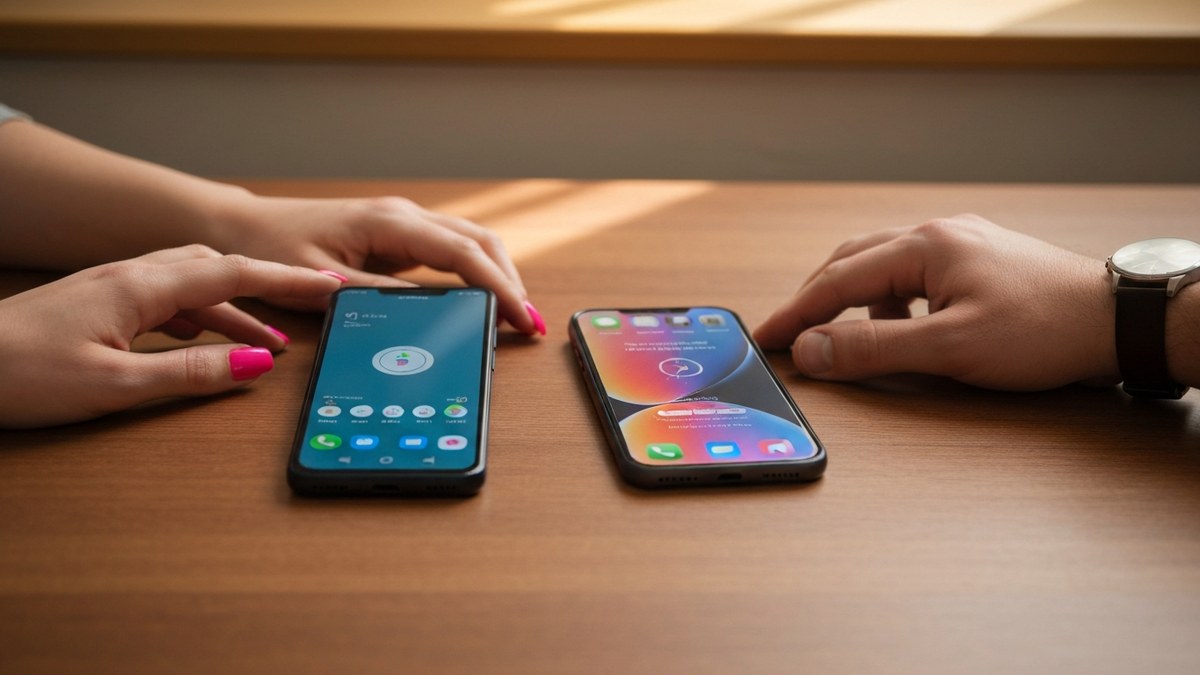
This is Apple’s recommended route and the one that moves the most data in a single shot. The catch, again, is that your iPhone must be at the “Transfer Your Apps & Data” screen during setup. If you have passed that point, jump ahead to the after-setup section.
Here is the full process, step by step:
- Prep both phones. Plug each device into power, and make sure your Android is on Wi-Fi (or be ready to use a cable). Turn off any Android settings that might interrupt the connection, such as Smart Network Switch.
- Install Move to iOS on Android. Download it from the Google Play Store and open it. Tap through the welcome screens and agree to the terms.
- Start your iPhone. Power on the new (or reset) iPhone and follow setup until you reach the Transfer Your Apps & Data screen, then choose From Android.
- Match the code. Your iPhone displays a six- or ten-digit code. Enter that code on your Android phone when prompted.
- Connect. The iPhone creates a temporary Wi-Fi network. Tap Connect on your Android to join it.
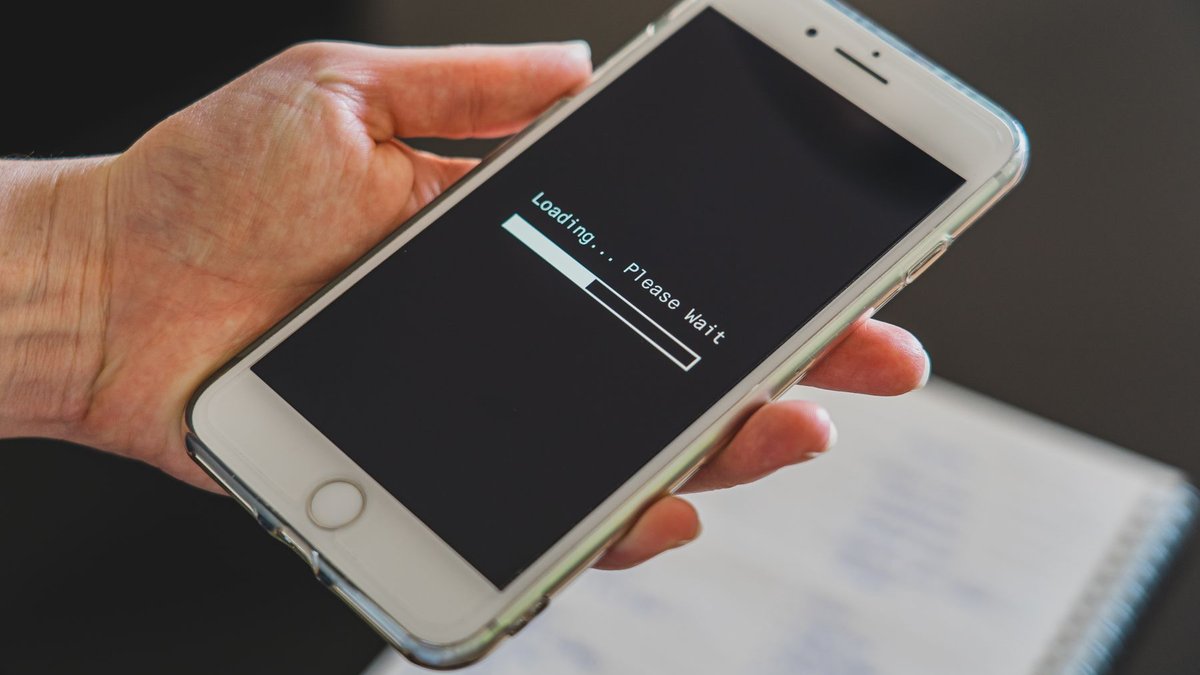
- Choose your data and wait. Select the content categories you want, then leave both phones alone until the loading bar on the iPhone finishes. Apple stresses that you should wait for the iPhone’s bar, not the Android’s, since the Android may say “Done” early.
One time-saver worth knowing: on some newer Android devices running a recent, supported Android version, Apple’s setup flow now offers a “Transfer without App” option that skips downloading Move to iOS entirely, letting you scan a QR code with the phones placed side by side instead. If you see it, you can use it in place of the app; if not, install Move to iOS as described above.
Realistically, this takes anywhere from 30 minutes to 2 hours depending on how much you are moving and how fast your Wi-Fi is. Do not touch either phone or let them sleep mid-transfer.
What Move to iOS brings across includes contacts, message history, camera photos and videos, photo albums, files and folders, accessibility and display settings, web bookmarks, mail accounts, calendars, voice memos, and call history. It will also try to match your free apps to App Store equivalents and queue them for download.
Method 2 — Using a USB-C Cable (No Wi-Fi Needed)
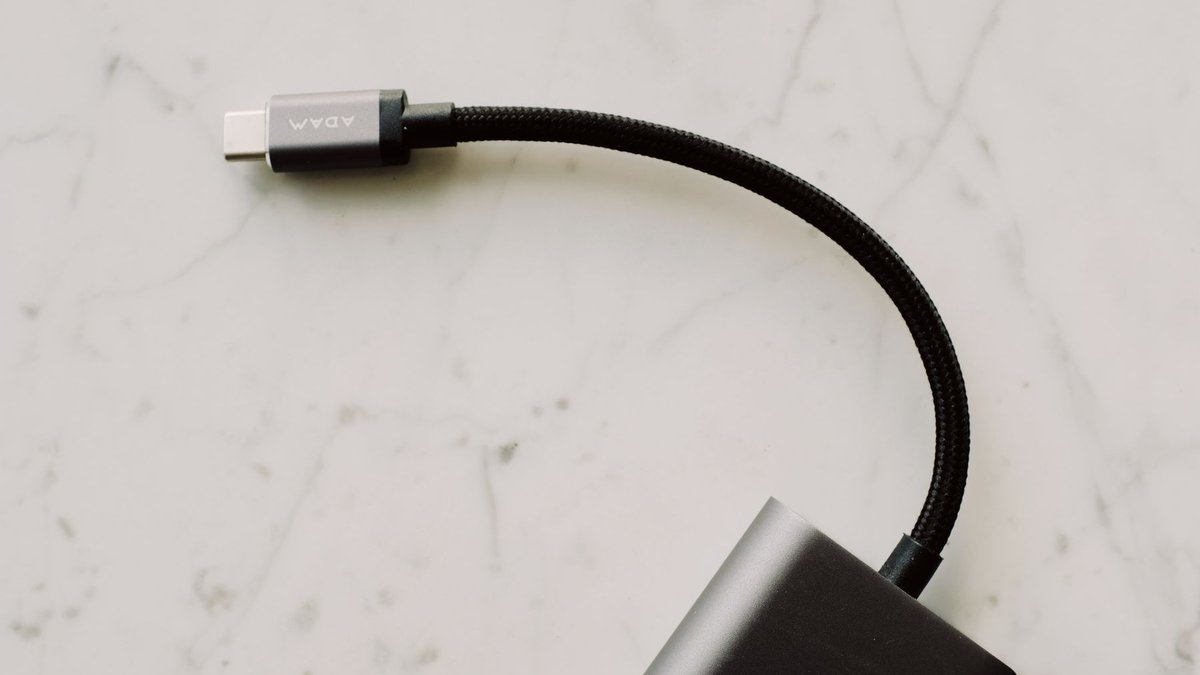
If your Wi-Fi is slow, flaky, or unavailable, you do not have to transfer wirelessly. Move to iOS supports a wired transfer: connect your Android phone directly to your iPhone with a USB-C cable (you may need a USB-C-to-USB-C cable plus an adapter depending on your Android’s port). Apple notes a cable connection is often faster and more stable than Wi-Fi, which makes it the better pick for large photo and video libraries.
The on-screen steps are nearly identical to the wireless flow above; you still start at the iPhone’s Transfer Your Apps & Data screen and pick From Android, but when prompted you connect the cable instead of joining the temporary Wi-Fi network. If you live somewhere with weak internet, this is your friend. It also sidesteps the most common cause of failed wireless transfers, which is a network that drops the connection partway through.
Method 3 — Manual Transfer With Your Google Account
You do not actually need Move to iOS for the most important everyday data, because Google already mirrors a lot of it to the cloud. This is the method to use if you missed the setup window, if Move to iOS keeps failing, or if you simply prefer the control.
- Contacts, calendars, and email: On the iPhone, open Settings > Apps > Mail (or Contacts/Calendars), add your Google account, and toggle on Contacts, Calendars, and Mail. Everything stored in Google syncs down automatically, no app required. Apple’s own manual-transfer guidance covers the same approach for moving content by hand.
- Photos and videos: Install Google Photos on the iPhone and sign in. Your entire backed-up library appears instantly. You can keep using it as your gallery, or save copies to the iPhone’s native Photos app.
- Music and large files: Music tracks, books, and PDFs are not handled by Move to iOS at all. The reliable route is a computer. Connect your Android and copy the music folder to your desktop. Then load it onto the iPhone through your preferred music app or the Apple Music/Finder sync.
The beauty of the Google route is that it works on a phone you have used for months, and it keeps syncing going forward, so a new contact added on the web shows up on your iPhone the same day. For more on what carries over when you also change your number or SIM, see our explainer on eSIM vs physical SIM and how to pick the right one.
Method 4 — Transferring WhatsApp Chats
WhatsApp is the one app where “just re-download it” loses your history, so it gets special handling. WhatsApp and Apple built an official bridge directly into Move to iOS, which means your chat history can ride along, but only under specific conditions.
According to WhatsApp’s official transfer guide, you need all of the following:
- The latest version of WhatsApp installed on both phones.
- The same phone number on the new iPhone as your old Android.
- An iPhone that is factory new or reset (because this rides on the Move to iOS setup flow).
- Both phones plugged into power and on the same Wi-Fi, or the Android connected to the iPhone’s hotspot.
During the Move to iOS transfer, select WhatsApp on the data screen and let it finish. Then install WhatsApp on the iPhone, open it, verify the same phone number, tap Start, and let the import run. Two honest limitations to know: your WhatsApp call history does not transfer, and the WhatsApp Business app is not supported by this feature.
How Long the Transfer Takes and Whether You Need Wi-Fi
These are the two questions every switcher asks first, so they deserve straight answers instead of a footnote buried in a step list.
How Long Does the Move Actually Take
Plan for 30 minutes to 2 hours. The size of your photo and video library is what decides it. A phone that mostly holds contacts, messages, and a few apps can finish in well under half an hour. A phone stuffed with years of camera footage sits at the long end, and a slow Wi-Fi network stretches it further.
Two rules keep the clock honest. First, keep both phones plugged in and awake for the whole run. A phone that sleeps mid-transfer is the top cause of restarts. Second, watch the iPhone’s progress bar and ignore the Android’s. The Android side often reports “Done” while the iPhone is still writing data.
Worth knowing: the cable route is the lever you control. Apple says a wired connection is usually faster and more stable than wireless. A big library that would crawl over Wi-Fi for two hours often lands much quicker over USB-C.
Do You Need Wi-Fi to Make the Switch
No — and this surprises people. The wireless version of Move to iOS does not use your home network to carry the data. The iPhone creates its own temporary Wi-Fi network, and the Android joins it directly. Your Wi-Fi radio has to be on, but your internet can be slow or even down and the phones will still talk to each other.
Prefer to skip wireless entirely? Connect the two phones with a USB-C cable and the transfer runs over the wire, no network of any kind involved. Where you do need real internet is right after the move: matched free apps re-download from the App Store, and Google Photos or account sync needs a connection to fill in.
What Does Not Transfer From Android to iPhone
Here is the day-one truth: paid apps, local music files, books and PDFs, most app logins, WhatsApp call history, and WhatsApp Business chats do not move on their own. Nearly everything else does. This is the table thin guides leave out, and going in with accurate expectations saves a lot of “where did my stuff go” panic.
| Data Type | Moves With Move to iOS? | Notes |
|---|---|---|
| Contacts | Yes | Also syncable anytime via Google account |
| Text/message history (SMS) | Yes | iMessage takes over going forward |
| Camera photos & videos | Yes | Cable recommended for large libraries |
| Mail accounts & calendars | Yes | Re-authenticate passwords on iPhone |
| Web bookmarks | Yes | Chrome bookmarks also sync via Chrome app |
| WhatsApp chats & media | Yes | Same number + reset iPhone required |
| Free apps | Partially | Matched to App Store versions, then re-downloaded |
| Paid apps | No | Must be re-purchased or re-downloaded on iOS |
| Music files (MP3s, local) | No | Move manually via computer |
| Books & PDFs | No | Move manually |
| App passwords / logins | Mostly no | Re-enter; Google passwords sync via account |
| WhatsApp call history | No | Not supported by the transfer |
| WhatsApp Business chats | No | Feature excludes the Business app |
The headline takeaway: your media and conversations come over well, but your apps and their logins largely do not. Budget 20 minutes after the move to re-download paid apps and sign back into your accounts.
Transferring After You’ve Already Set Up Your iPhone
This is the single most under-served question online, and the honest answer is blunt: Move to iOS cannot run after setup is complete. It only appears on the Apps & Data screen during the very first boot. There is no hidden menu, no app you can launch later to trigger it.
That leaves you two real choices:
- Erase and start over. Go to Settings > General > Transfer or Reset iPhone > Erase All Content and Settings. This wipes the iPhone back to factory state, which puts you right back at the setup flow where Move to iOS lives. Only do this if you have not yet stored anything important on the iPhone. The erase is permanent and unrecoverable without a backup. Apple is clear that this step deletes everything currently on the device — here is exactly what a factory reset deletes and what survives.
- Use the manual methods instead. This is what most people should do. Add your Google account for contacts, calendars, and mail; install Google Photos for your pictures; and move music with a computer. You will not get SMS history or WhatsApp chats this way, but you keep your already-configured iPhone intact. Third-party transfer apps advertise an “after setup” path too. But they are paid, they vary in quality, and they are unnecessary for the data Google already syncs.
Our practical recommendation: if your iPhone is only a day or two old and nearly empty, the erase-and-rerun route gives you the most complete result. If you have been using it for a while, lean on the Google methods and accept that text history stays on your old phone.
Troubleshooting When the Transfer Won’t Work
When Move to iOS stalls, fails, or never connects, the cause is almost always one of a handful of issues. Work through these in order:
- Kill competing connections. On Android, turn off mobile data and any VPN, and disable features like Smart Network Switch that hop between networks. The transfer needs the Wi-Fi connection to stay put. Background apps can also hog the connection. Our piece on why Bluetooth slows Wi-Fi explains how wireless interference quietly sabotages exactly this kind of transfer.
- Stay on power and awake. Both phones should be plugged in, and neither should be allowed to sleep. Set the Android’s screen timeout to its longest setting.
- Free up the iPhone. If the iPhone runs out of room mid-transfer, it fails silently. Make sure it has more free space than the data you are sending.
- Switch to the cable. If wireless keeps dropping, the USB-C cable method bypasses the network entirely and resolves most connection failures.
- Update both apps. An outdated WhatsApp or Move to iOS version is a frequent culprit for partial transfers.
- Restart and retry. If all else fails, reset both phones, erase the iPhone again (Settings flow above), and run the whole process fresh. A clean re-run fixes more problems than any single tweak.
If it still will not cooperate after a cable attempt and a clean retry, switch strategies entirely and use the Google account method, which has no setup-window or network-handshake to fail.
What to Do if the Transfer Fails Partway
A transfer that stops at 40 percent feels like a disaster. It is not. Start with the fact that matters most: Move to iOS copies your data — it never deletes anything from the Android. Whatever the iPhone failed to receive is still sitting safely on your old phone. You have lost time, not data.
What you cannot do is resume. There is no pick-up-where-it-stopped option, and a half-filled iPhone is a mess of partial photo albums and missing threads. The clean recovery is to start over: erase the iPhone (Settings > General > Transfer or Reset iPhone > Erase All Content and Settings), which puts you back at the setup screen, and run the transfer again from zero.
Fastest recovery: make the re-run a wired one. Plugging in a USB-C cable removes the two things that break most wireless transfers: a dropped network connection, and a phone that dozed off.
If the transfer dies at the same point twice, something specific is choking it. The usual suspect is a huge video library. Take photos and videos out of the equation: let Google Photos carry your media, deselect it in Move to iOS, and let the transfer haul only the light stuff. And if WhatsApp is what failed, remember the chat import only rides the full setup flow — a partial import means running Move to iOS again, not just reinstalling the app.
Frequently Asked Questions
How Do I Move Everything From Android to iPhone?
Use Move to iOS during your iPhone’s initial setup to bring over contacts, messages, photos, videos, mail, calendars, WhatsApp chats, and free apps in one pass. Then fill the gaps manually: re-download paid apps from the App Store, sign back into your accounts, move music with a computer, and add your Google account for ongoing contact and calendar sync. There is no single button that moves literally everything, so plan for both the automatic transfer and a short manual cleanup.
Can I Transfer After I’ve Already Set Up the iPhone?
Not with Move to iOS, which only runs during first-time setup. Your options are to erase the iPhone (Settings > General > Transfer or Reset iPhone > Erase All Content and Settings) to return to the setup flow, or to use manual methods like Google account sync and Google Photos that work on an already-configured phone. The erase route is the only way to recover SMS and WhatsApp history after setup, and it permanently wipes whatever is currently on the iPhone.
How Do I Transfer Without Wi-Fi or With a Cable?
Connect your Android and iPhone with a USB-C cable and run the normal Move to iOS setup flow; when prompted, use the cable instead of joining the temporary Wi-Fi network. A wired transfer needs no internet, is usually faster than wireless, and is the most reliable choice for large photo libraries or weak-signal locations.
How Long Does It Take?
Most transfers finish in about 30 minutes to 2 hours, depending on how much data you are moving and your connection speed. A few thousand photos and videos can push toward the longer end, while a phone with mostly contacts and messages finishes quickly. Keep both phones plugged in and untouched the entire time to avoid restarting.
What if Data Won’t Transfer or Move to iOS Isn’t Working?
Turn off mobile data and VPN on the Android, disable network-switching features, keep both phones on power and awake, and make sure the iPhone has enough free storage. If wireless keeps failing, switch to the USB-C cable method, which avoids the network handshake entirely. As a last resort, erase the iPhone and run the transfer fresh, or abandon Move to iOS and sync your data through your Google account instead.
Does It Transfer WhatsApp and App Data?
WhatsApp chats and media do transfer if you select WhatsApp during a Move to iOS setup, use the same phone number, and start from a new or reset iPhone, but call history does not come across and the Business app is unsupported. General app data mostly does not transfer: free apps are re-matched and re-downloaded, paid apps must be re-purchased, and you will usually need to sign back into each app manually.
Do My Paid Apps and Music Come Across?
No to both, automatically. Paid Android apps have to be found and downloaded (or re-purchased) from the App Store, since Android and iOS use separate stores. Music files, books, and PDFs are not handled by Move to iOS at all and need to be moved manually, most easily by copying them through a computer or by using a streaming service that simply logs in on the new phone.